> ## Documentation Index
> Fetch the complete documentation index at: https://docs.grdflo.com/llms.txt
> Use this file to discover all available pages before exploring further.
# Account Creation & Initial Setup
> Learn how to create your account and set up your organization in GridFlow Core
Welcome to GridFlow Core! This guide will walk you through creating your account, setting up your initial organization, and getting started with our platform.
Before you begin, make sure you have your business details handy, including your organization's address and contact information.
## Quick Start
Ready to get started? Click here to sign up and create your account now!
## Detailed Setup Process
Provide your personal and business information:
* First name and Last name
* Email address
* Phone number
* Your address (use the autofill dropdown)
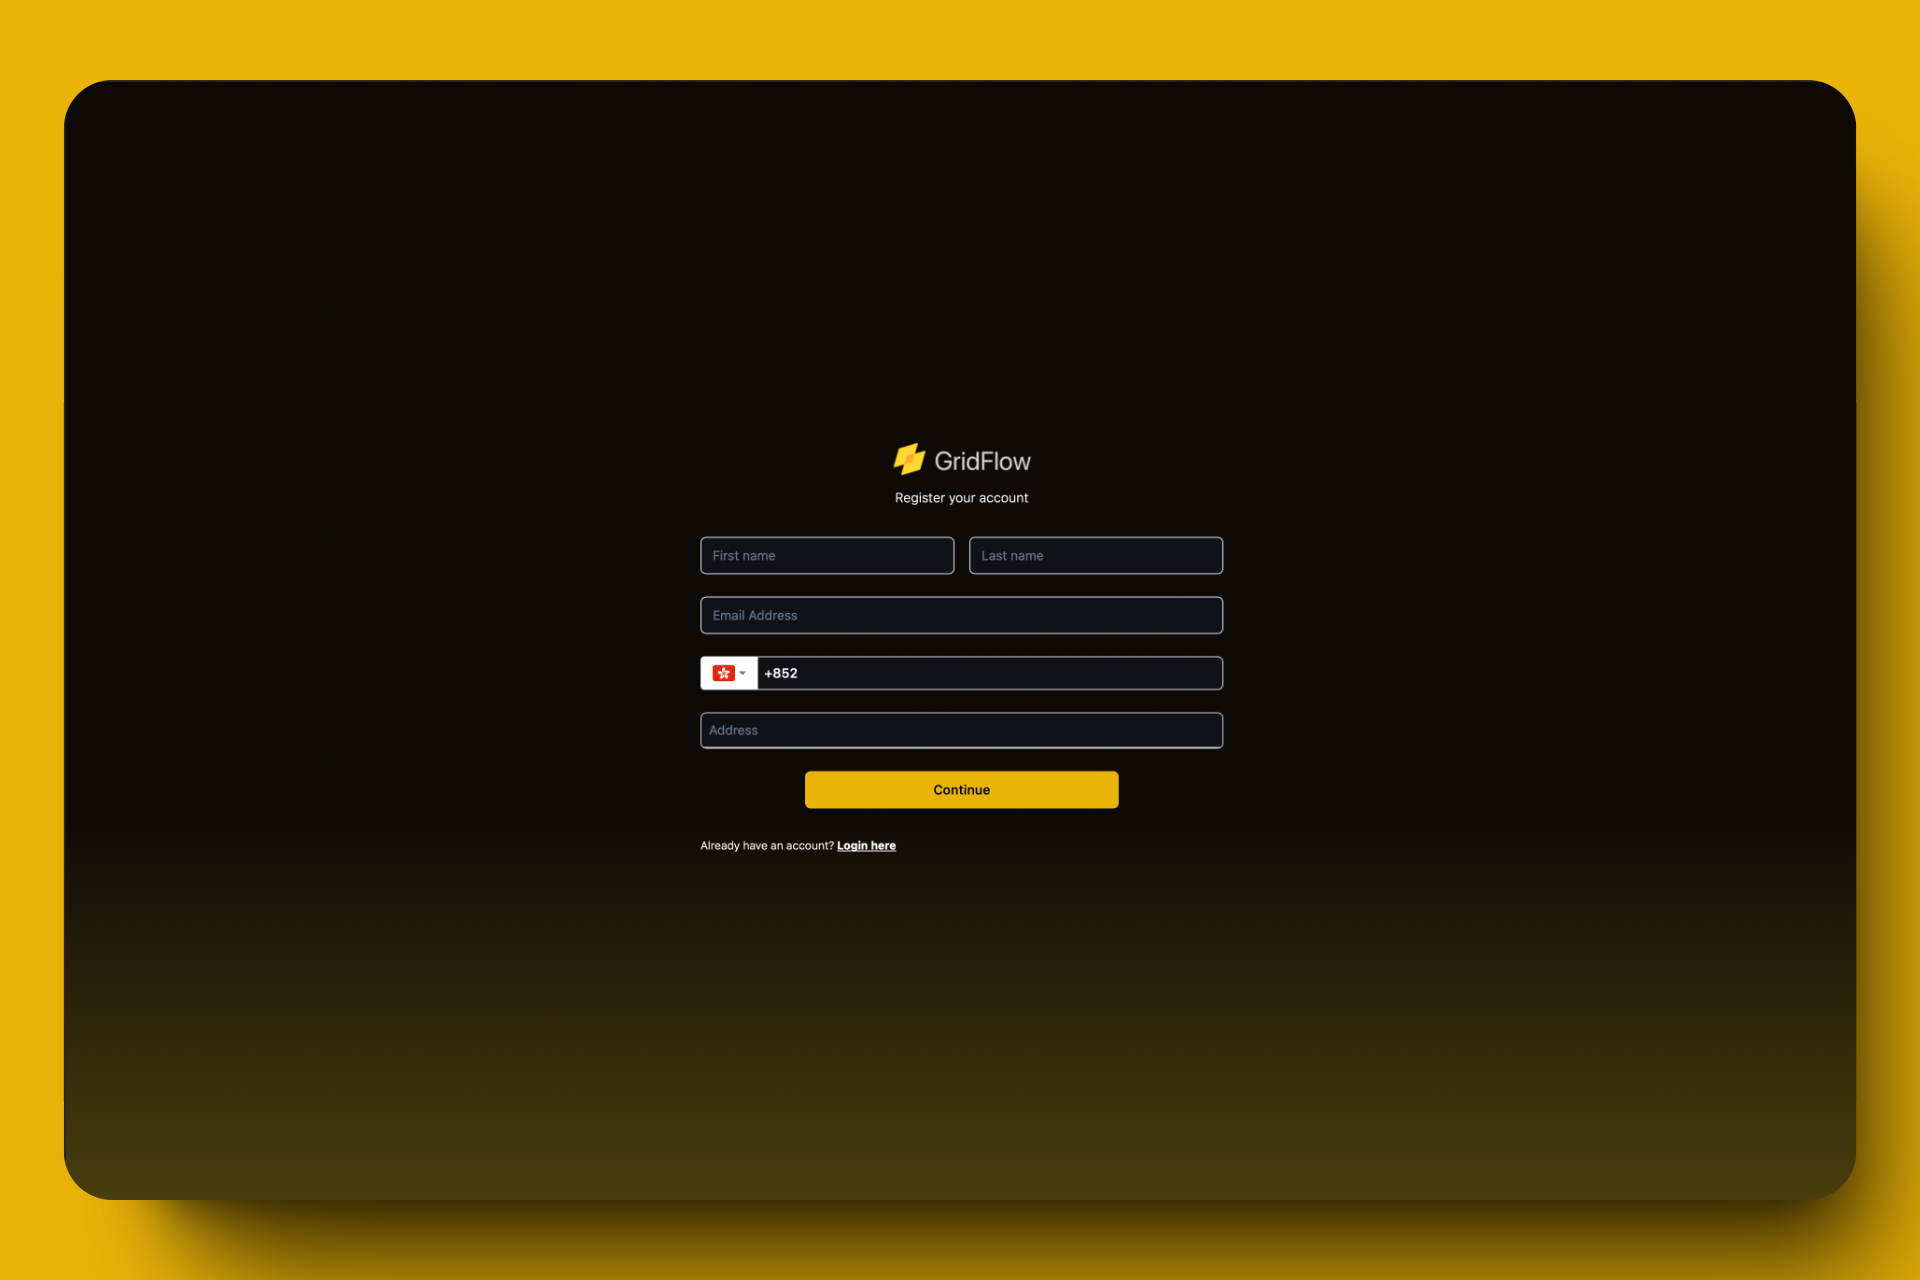 Use the address autofill feature for quick and accurate entry.
Your password must include:
* At least 8 characters
* 1+ lowercase letter
* 1+ uppercase letter
* 1+ number
* 1+ special character
Remember to accept the Terms and Conditions and Privacy Policy.
Use the address autofill feature for quick and accurate entry.
Your password must include:
* At least 8 characters
* 1+ lowercase letter
* 1+ uppercase letter
* 1+ number
* 1+ special character
Remember to accept the Terms and Conditions and Privacy Policy.
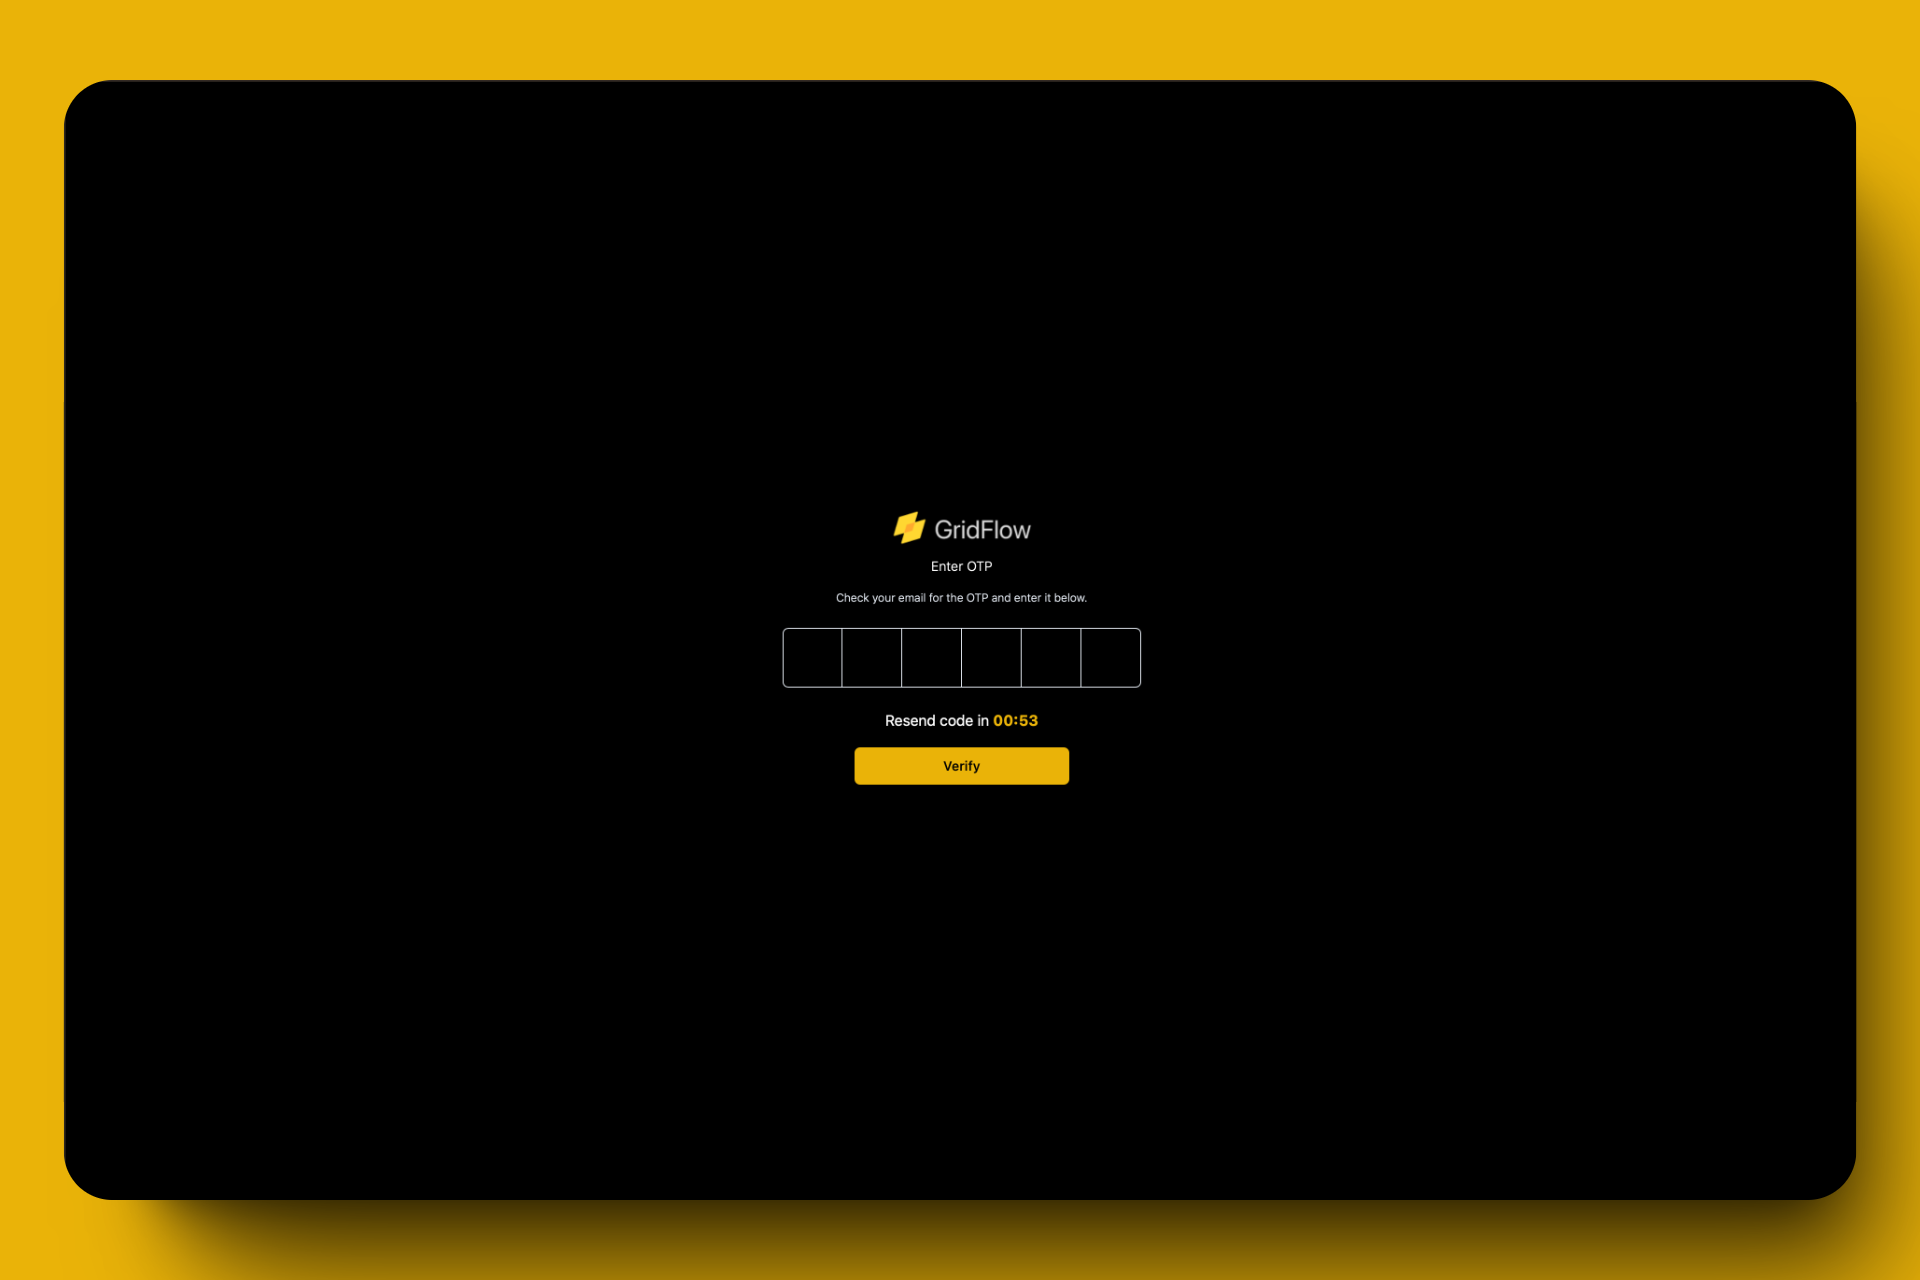 1. Check your inbox for a verification code
2. Enter the code on the verification page
3. Click "Verify" to complete the process
Log in using your email and newly created password.
Upon first login, look for the user icon in the top right corner. Clicking it reveals that a Private organization has been automatically created for you.
1. Check your inbox for a verification code
2. Enter the code on the verification page
3. Click "Verify" to complete the process
Log in using your email and newly created password.
Upon first login, look for the user icon in the top right corner. Clicking it reveals that a Private organization has been automatically created for you.
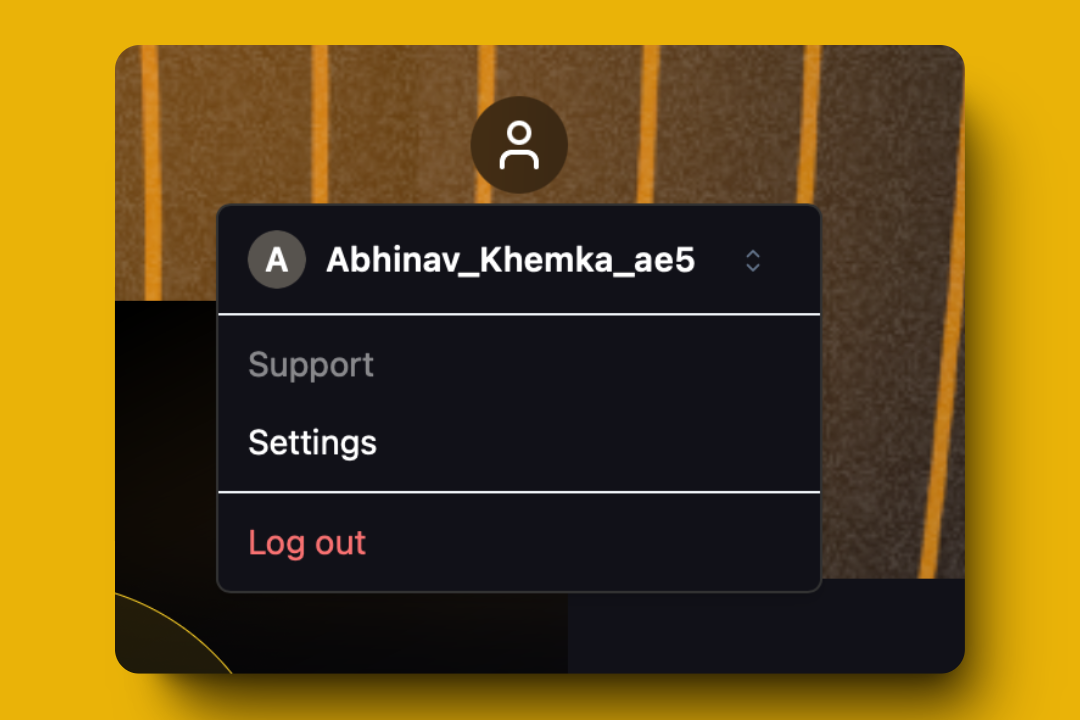 A Private organization is automatically created for you. It's perfect for personal use with up to two chargers, but lacks team features.
For businesses managing multiple chargers or requiring team collaboration, a new organization offers enhanced features and scalability.
A Private organization is automatically created for you. It's perfect for personal use with up to two chargers, but lacks team features.
For businesses managing multiple chargers or requiring team collaboration, a new organization offers enhanced features and scalability.
 Two ways to create a new organization:
1. User icon dropdown > "Create Organization"
2. Settings (bottom left) > "Create Organization"
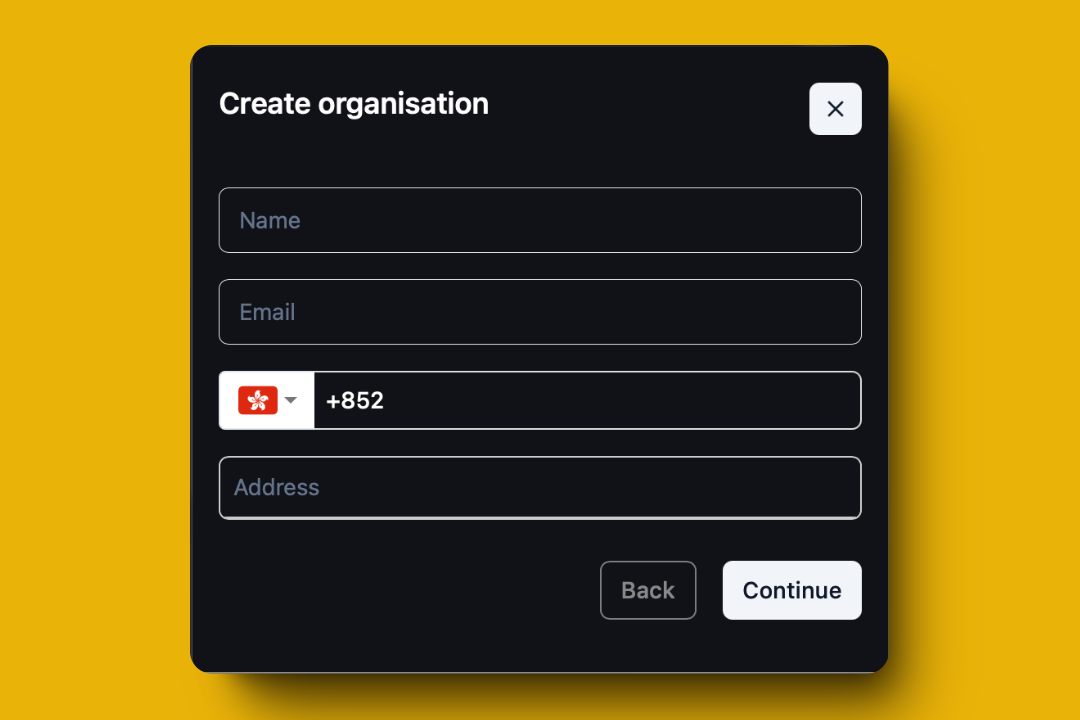
Provide:
* Organization name
* Contact email
* Phone number
* Address (use autofill)
Accurate address and phone number are crucial for correct currency and locale settings.
A clear, recognizable logo enhances your brand visibility on GridFlow Drive.
Select your new organization from the Organization Selector to start using it.
## Next Steps
Now that you've set up your account and organization, here's what you can do next:
Configure your first EV charger
Manage charger access permissions
Set up your charging pricing
Organize your chargers effectively
Our support team is here to help:
[support@core.grdflo.com](mailto:support@core.grdflo.com)
Chat with us in real-time by clicking on the chat icon in the bottom right corner.
Two ways to create a new organization:
1. User icon dropdown > "Create Organization"
2. Settings (bottom left) > "Create Organization"
Provide:
* Organization name
* Contact email
* Phone number
* Address (use autofill)
Accurate address and phone number are crucial for correct currency and locale settings.
A clear, recognizable logo enhances your brand visibility on GridFlow Drive.
Select your new organization from the Organization Selector to start using it.
## Next Steps
Now that you've set up your account and organization, here's what you can do next:
Configure your first EV charger
Manage charger access permissions
Set up your charging pricing
Organize your chargers effectively
Our support team is here to help:
[support@core.grdflo.com](mailto:support@core.grdflo.com)
Chat with us in real-time by clicking on the chat icon in the bottom right corner.